On this post, I will talk about installing DVWA, which stands for Damn Vulnerable Web Application.
DVWA is a vulnerable web application that we can use to practice our tools for ethical hacking in a safe environment.
Here are the steps for installing DVWA:
First, we need to change our directory to /var/www/html, and we just simply need to do it with this command:
cd /var/www/html
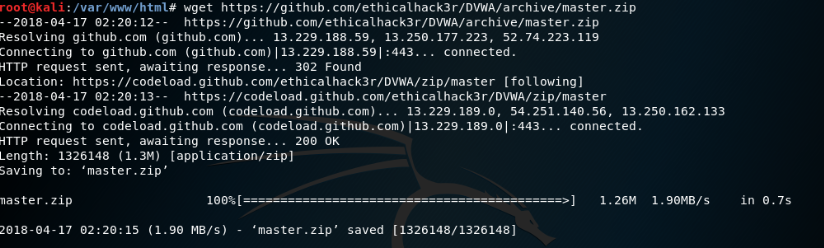
After we redirect it to /var/www/html, we need to download the files from github. The url to the repository is https://github.com/ethicalhack3r/DVWA/archive/master.zip
We download the files using the wget command, and then the files will be downloaded to our Kali Linux, shown in the screenshot below:

Make sure the files are there by typing ls to the terminal. If the file master.zip is found there, we can extract it using the unzip command shown in the screenshot below
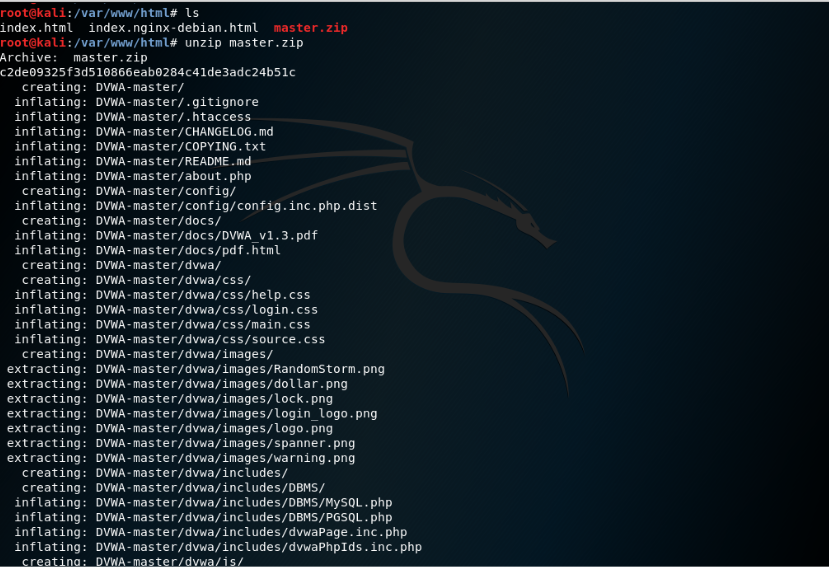

Then check whether the files are there using the ls command again. The folder DVWA-master should be there.
Next what we’re going to do is move the contents of the DVWA-master folder into /var/www/html, simply using this command
mv DVWA-master/* /var/www/html
And make sure to check again whether the files have been moved to the folder


After that we are going to change the ownership of the directory to the web root directory using this command
chown -R www-data:www-data /var/www/html
To check whether it has changed or not we simply just need to type ls -l command to our terminal.
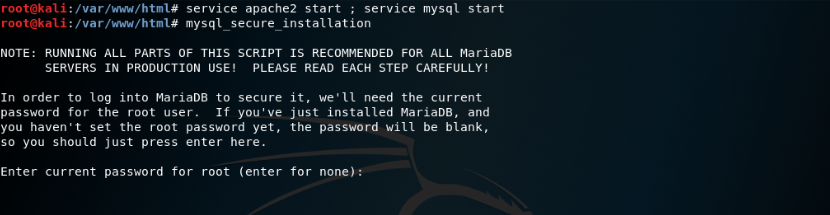
After all of that is done, we just need to start our apache2 and mysql services, simply using this command
service apache2 start ; service mysql start
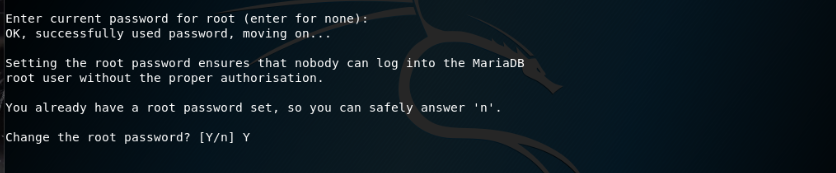
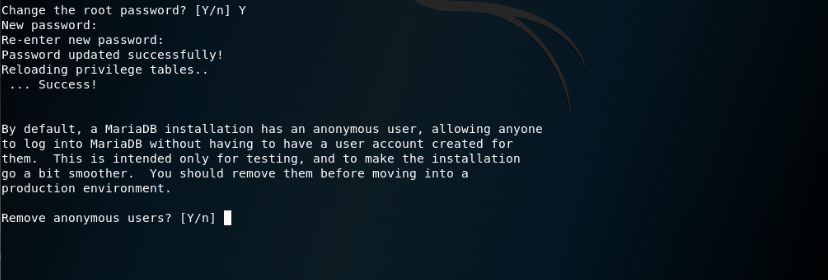
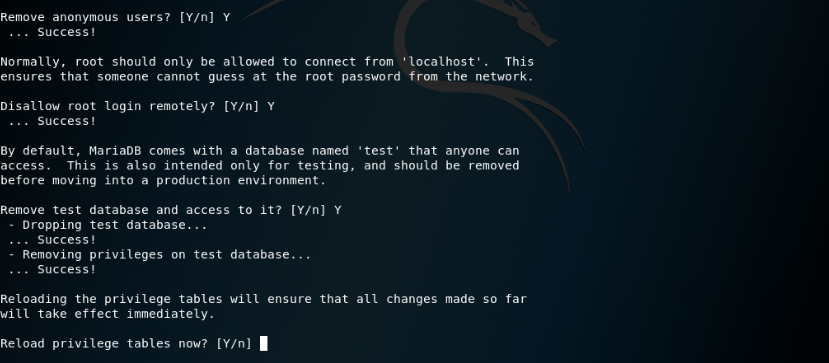
Then we continue by securing our mysql installation and carefully follow the steps:


After we securely install our mysql now we can check whether our server is working properly…

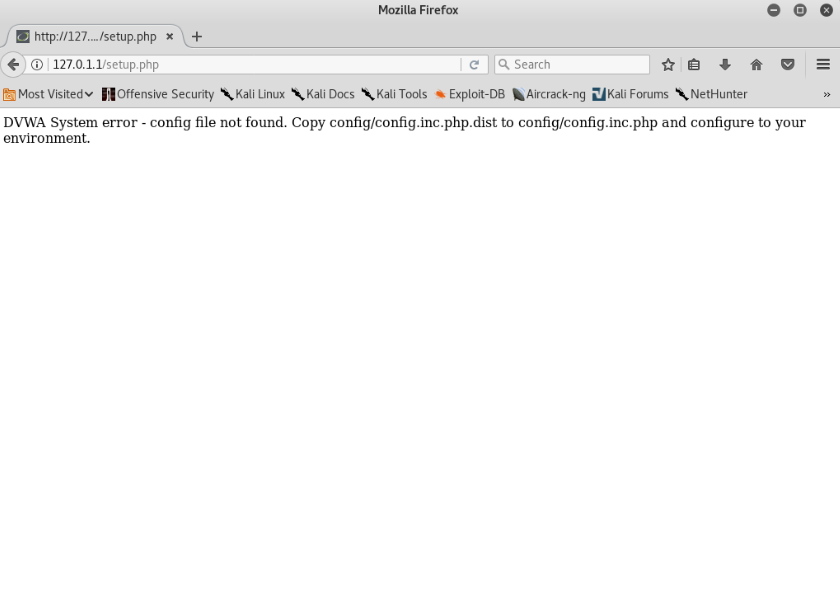
But there seems to be an error here. However it can be easily fixed and we just need to follow the instruction that is shown in the website.
So we go back to our terminal and copy the config.inc.php.dist file to config.inc.php using this command:
cp config/config.inc.php.dist config/config.inc.php


Make sure the files have been successfully copied.
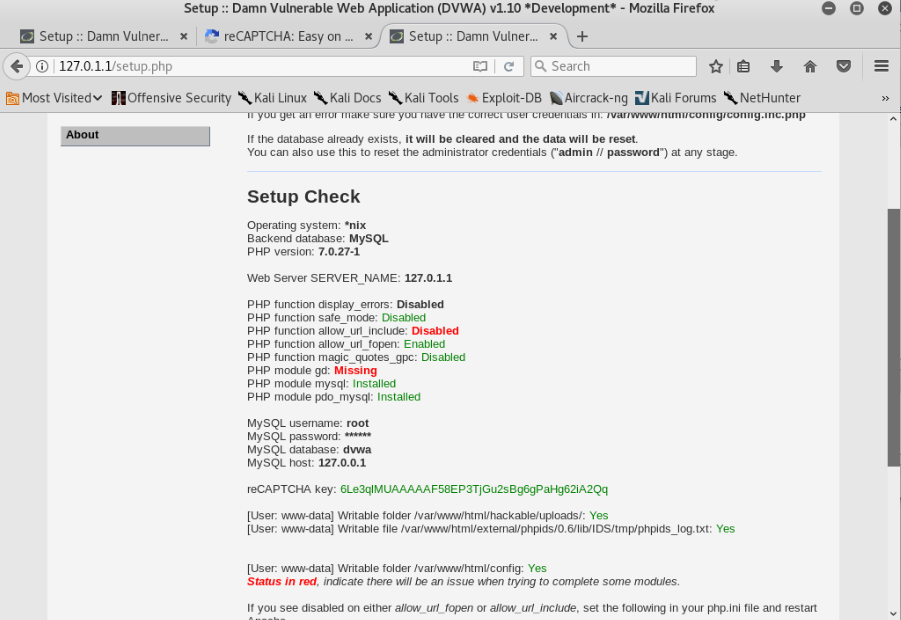
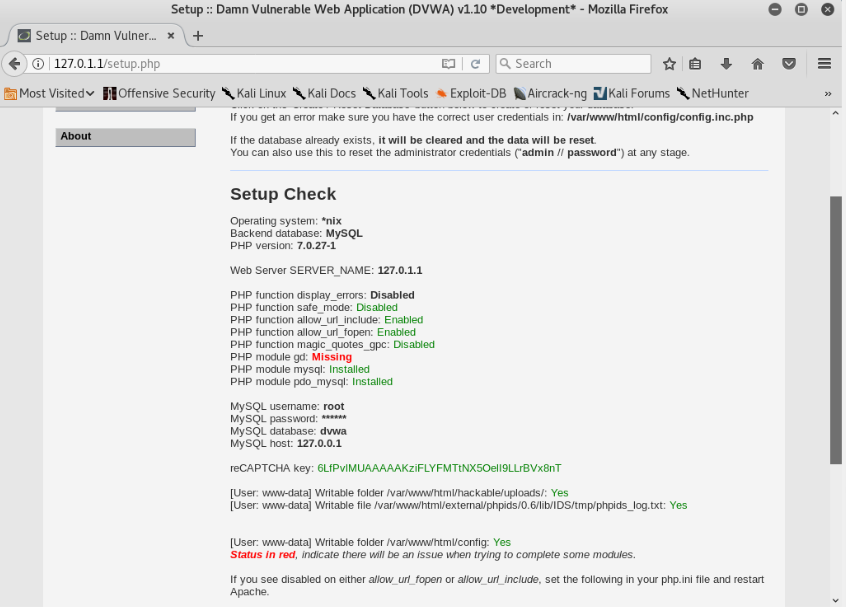
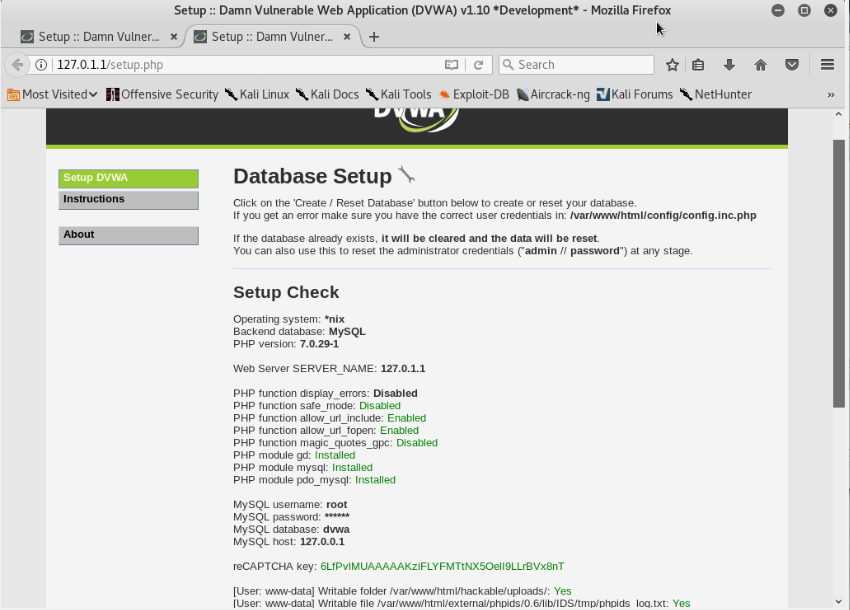
After that, we can go back to our browser and check if the server is running. It should show something like the screenshot below

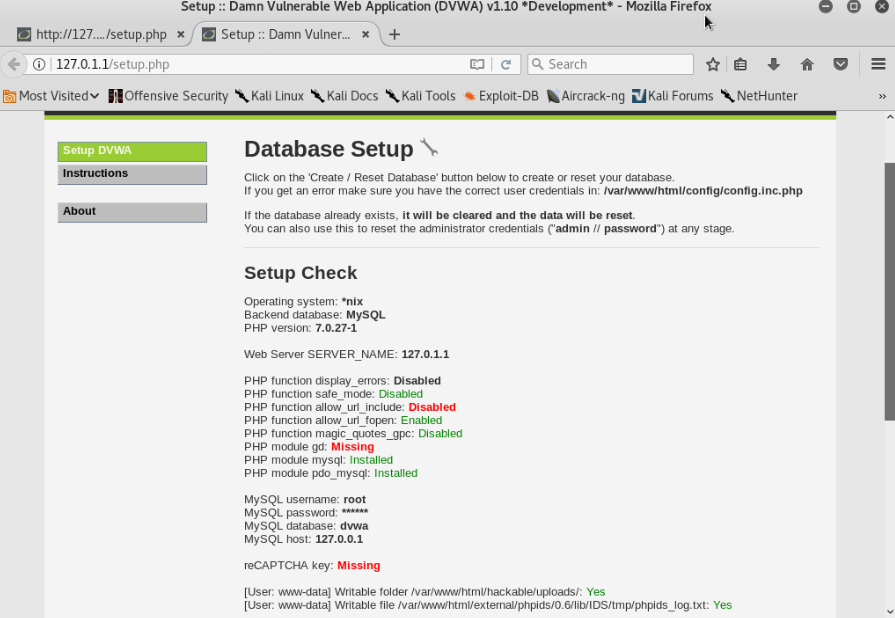
Notice the text in red. It shows that the components that we need are either disabled or missing.
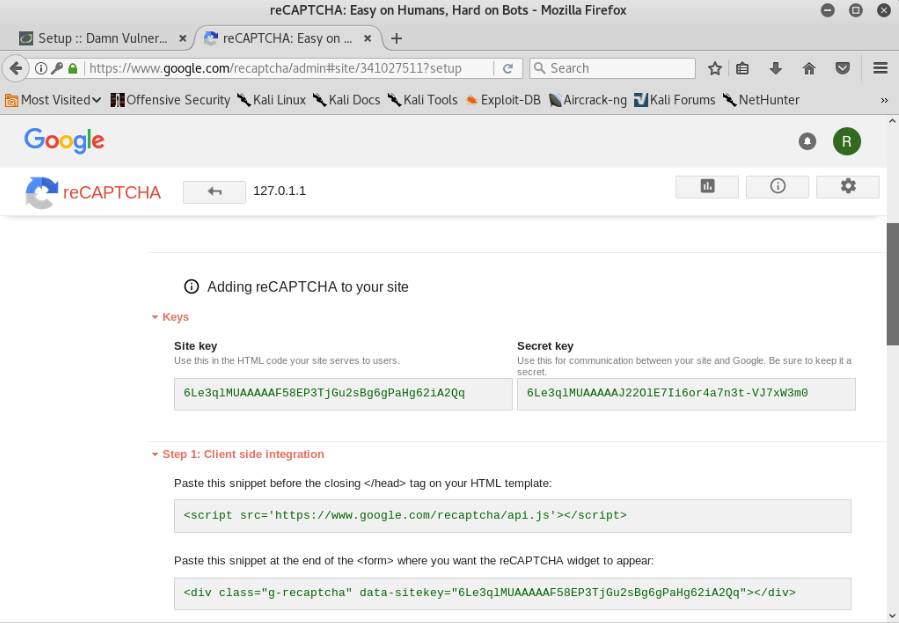
First we are going to solve the reCAPTCHA problem. To do that, simply generate a reCAPTCHA key via your google account. To create a key, simply go to this link over here
After you logged in and register your website (in my case I registered my localhost’s IP address), simply copy the reCAPTCHA keys that are given

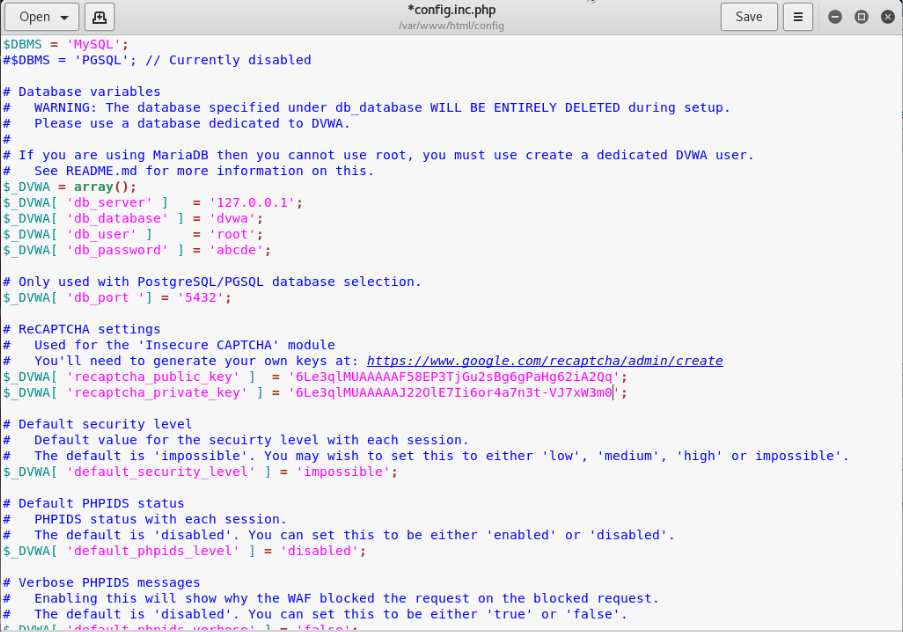
Copy the keys to the config.inc.php file. To do that, we go back to our terminal and open the file using the gedit command:
gedit config.inc.php

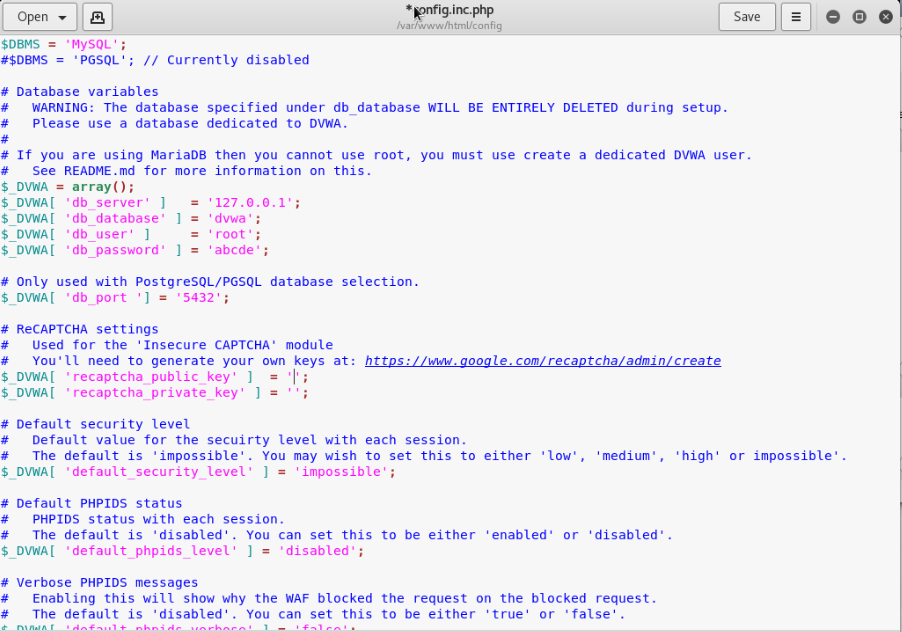
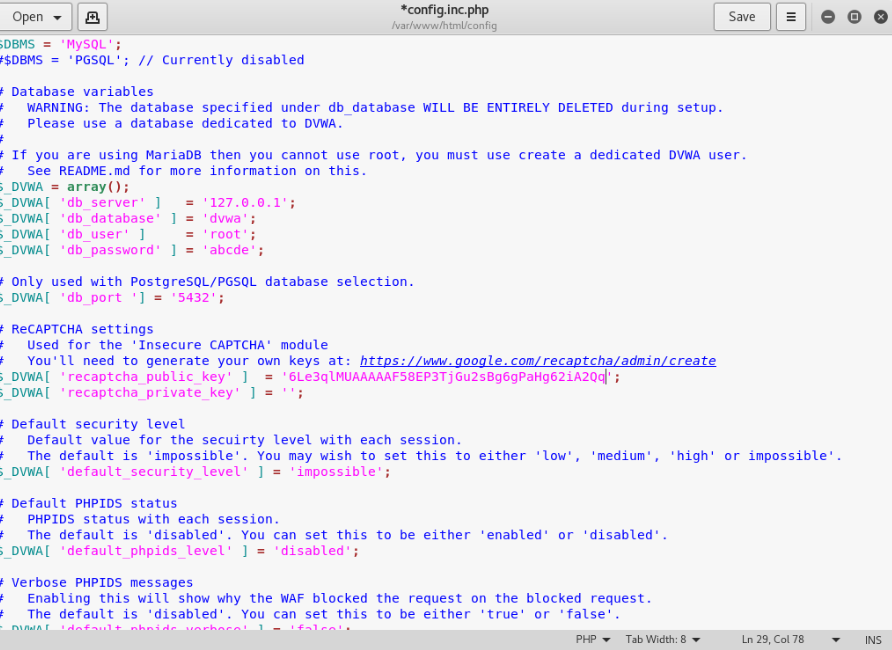
As you can see in the screenshot above, the spaces for the recaptcha keys are still empty. That is where we are going to put our keys from the google page before, like so


Restart the apache2 and mysql services and then re-open the DVWA setup page:

We have successfully added our reCAPTCHA key. However, it seems that some of the components are still missing.
For the allow_url_include one, the website has provided us instructions, so we just need to carefully follow them.
In order to enable it we need to go to our php.ini file. To find where our php.ini file is, we use this command:
php --ini

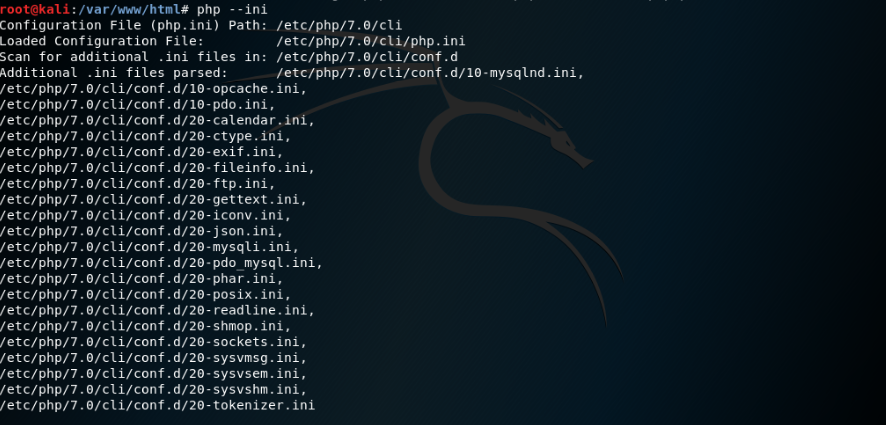
As you can see, the path for our php.ini file is shown there. So we need to redirect to our php.ini directory


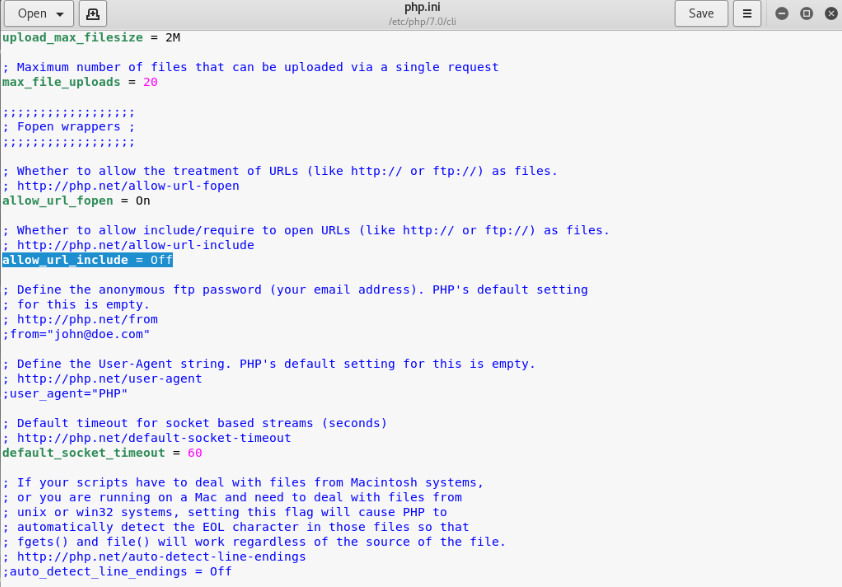
Open the php.ini file using the gedit command

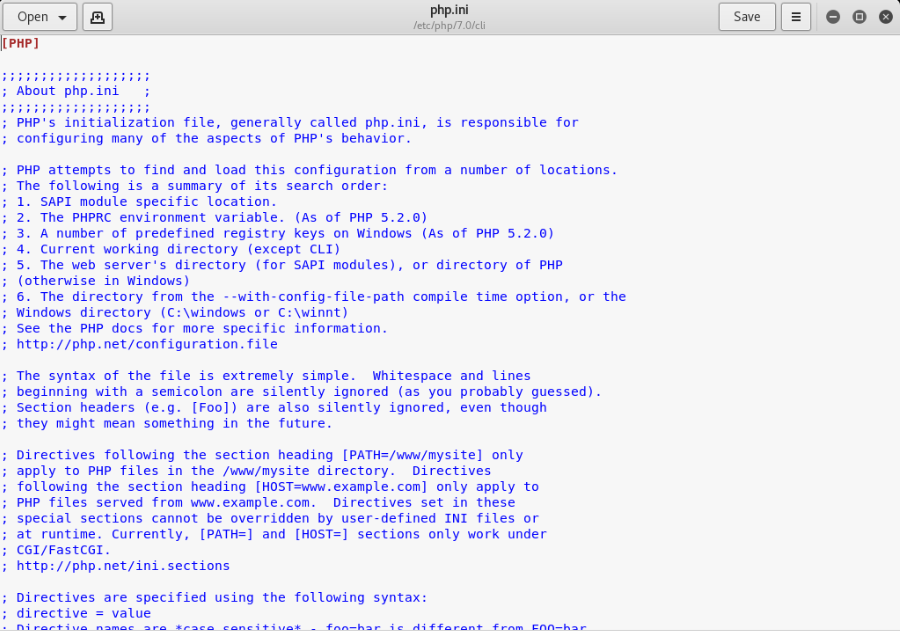
Find allow_url_fopen and allow_url_include in the file, and change it to On:

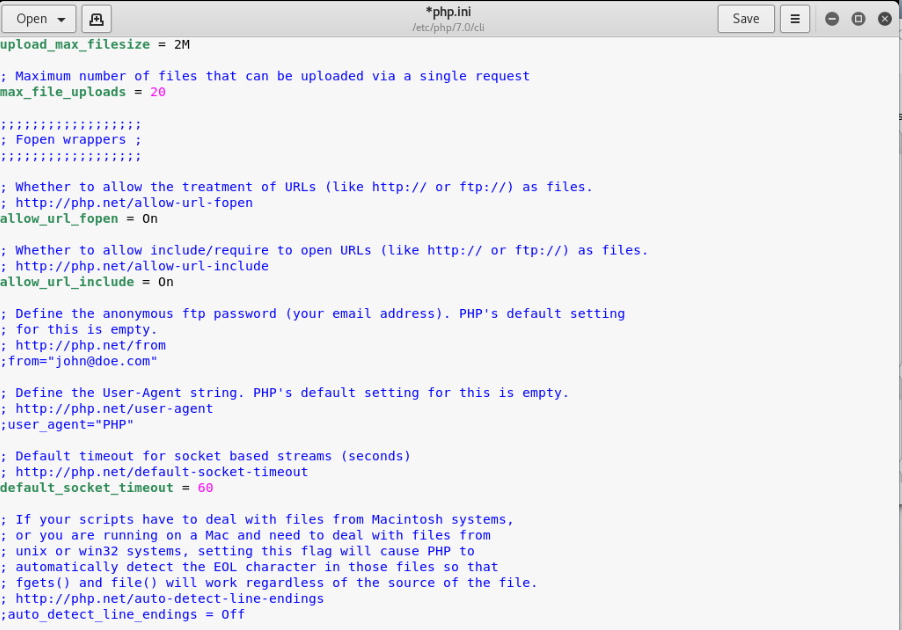
Then save the php.ini file. After that, do the same to other php.ini files should there be any. Make sure you check every other folder in the directory for other php.ini files or else the setup website would still say allow_url_include is disabled.
Restart the apache2 and mysql services and check the setup website again:

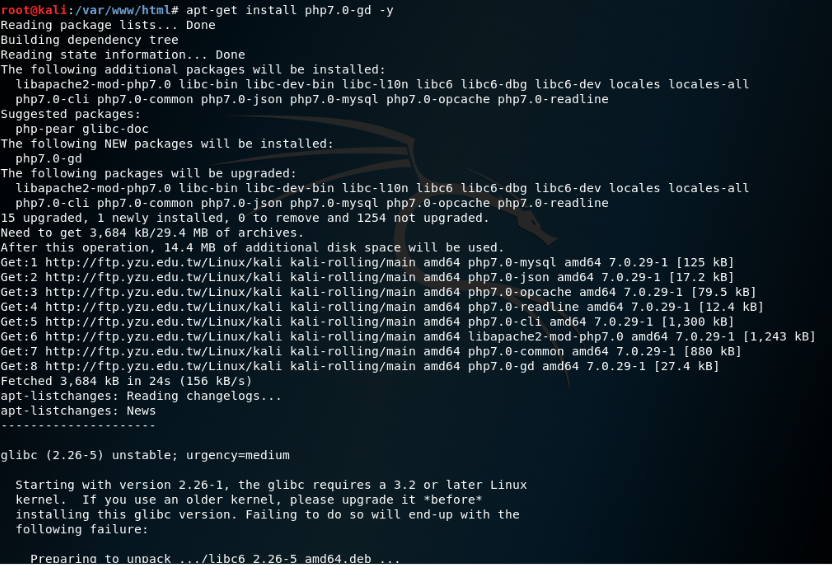
Now we just need to install the php module. To do that, we just need to go back to our terminal and type in this command:
apt-get install php7.0-gd -y

After installation is complete, restart the apache2 service and check back on our setup website

Now that all of our components are already set up, we just need to create the database.
Go back to the terminal and type in this command:
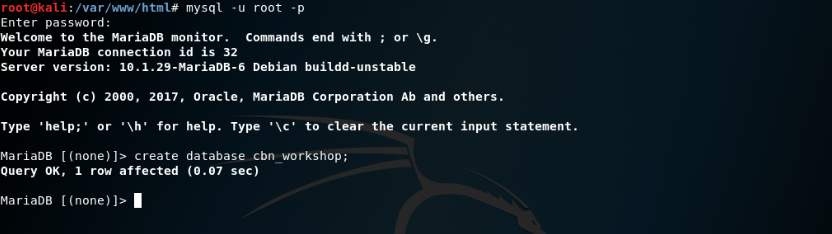
mysql -u root -p
And just create the database. Follow the screenshots below


And quit MariaDB after that. Then edit our config.inc.php file and change the configurations like so:

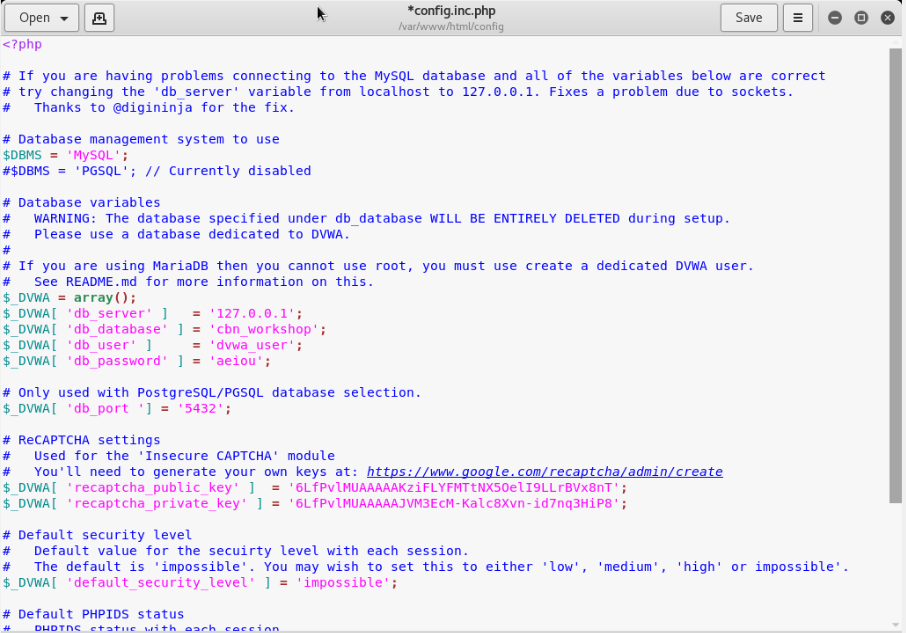
After editing, go back to the setup website and click the Create/Reset Database button.
You will be redirected to the login page
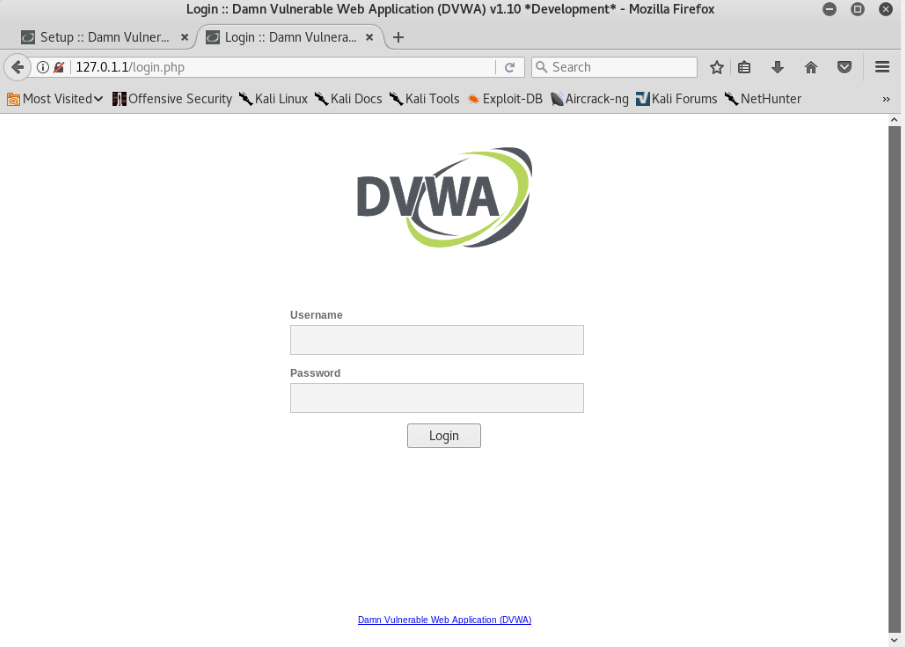

After we login, we are redirected to the DVWA home page.

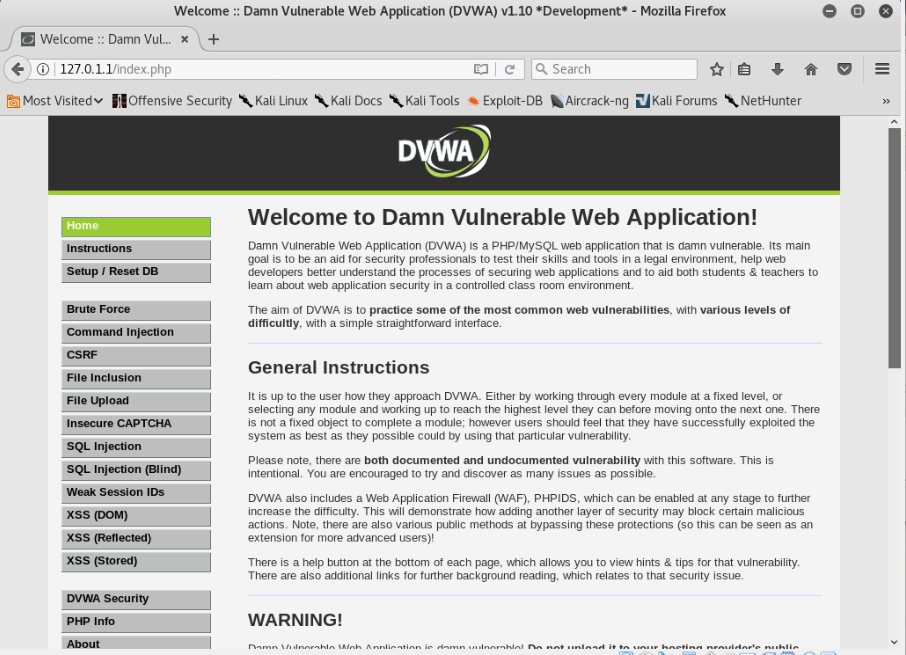
And that’s it! We have installed DVWA to our Kali Linux machines.